7/20/2026
Street Machine Nationals + Datsun Update
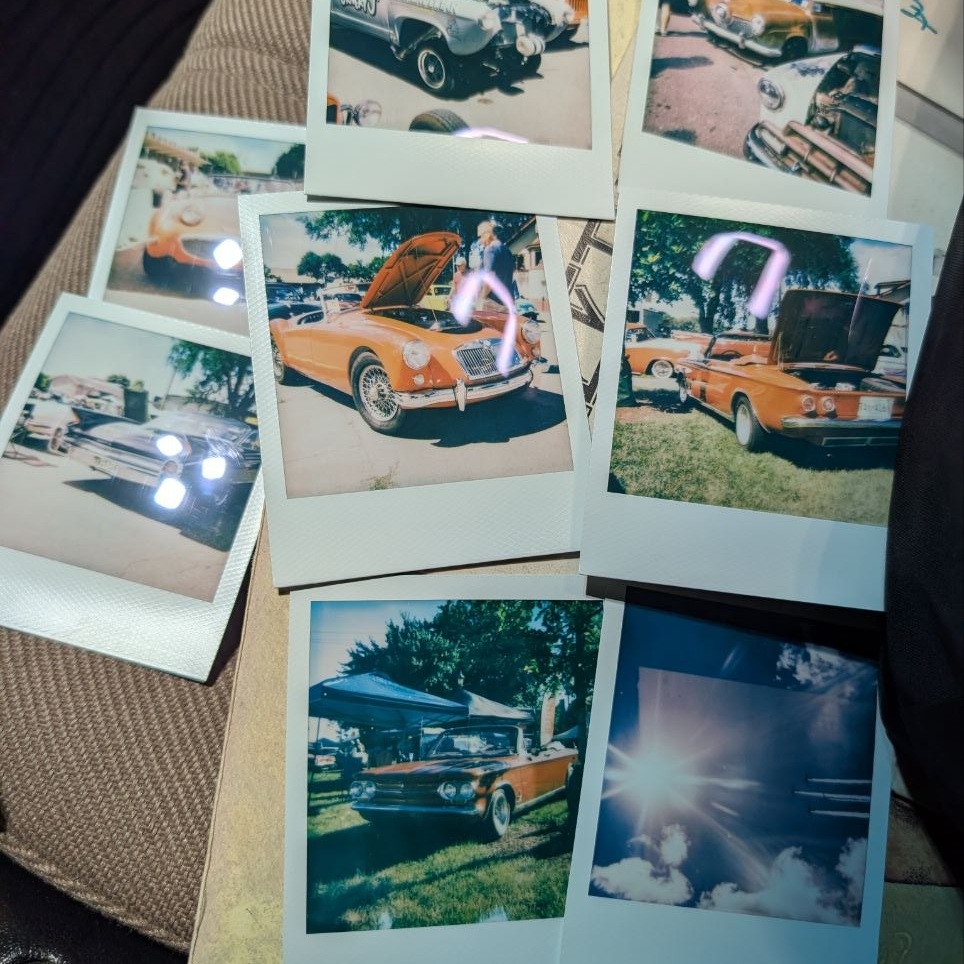
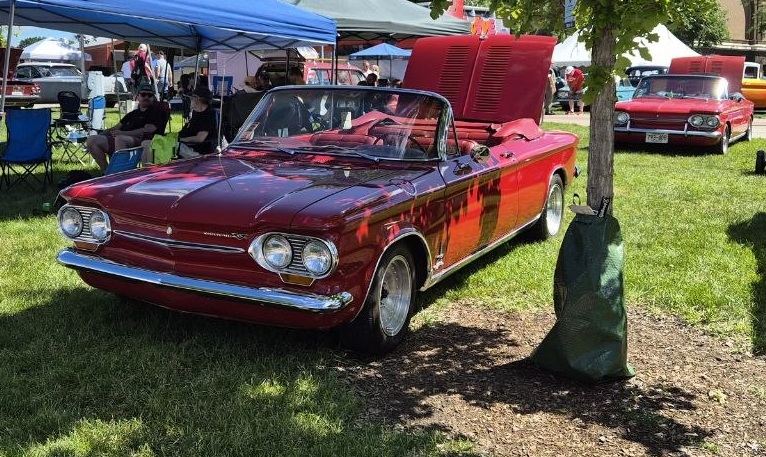
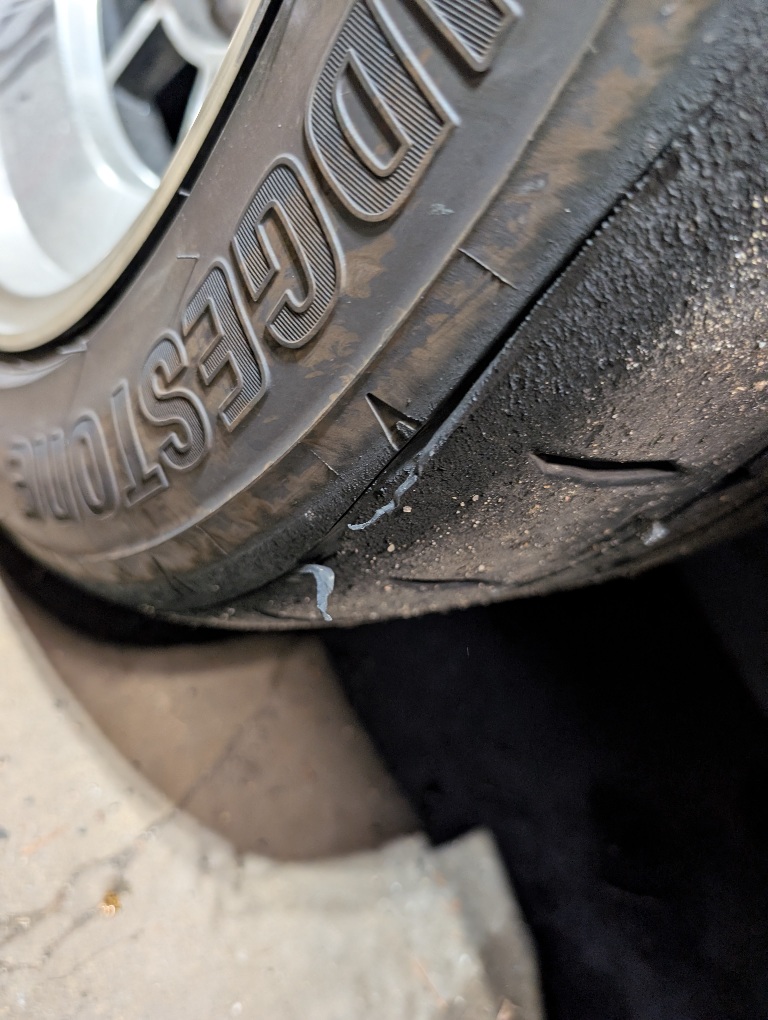
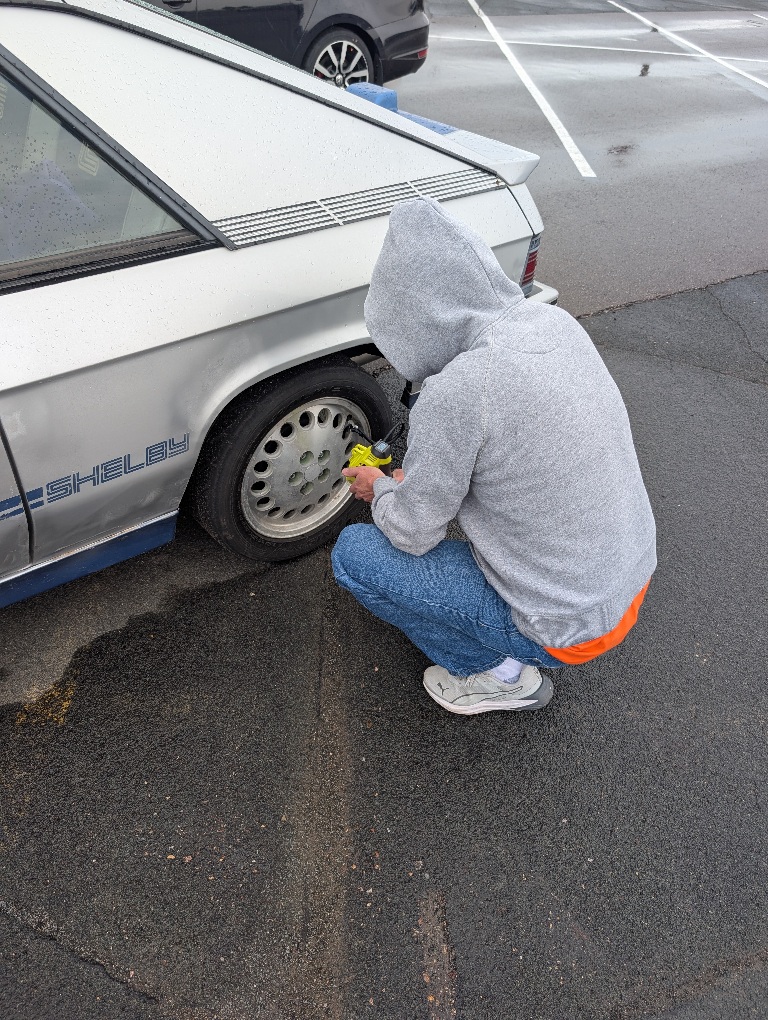
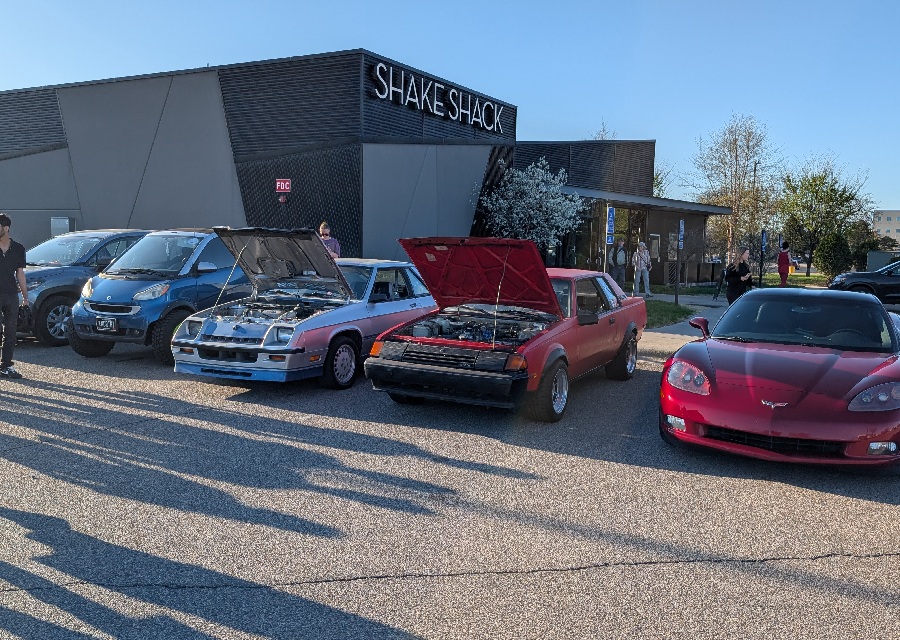
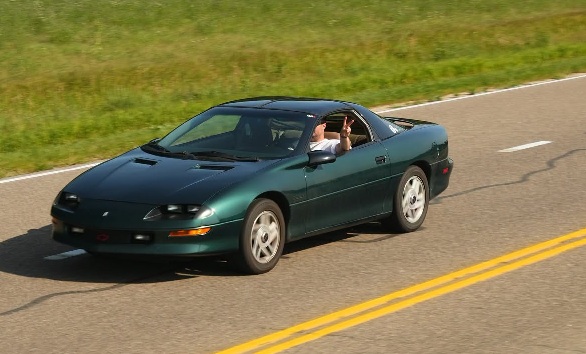
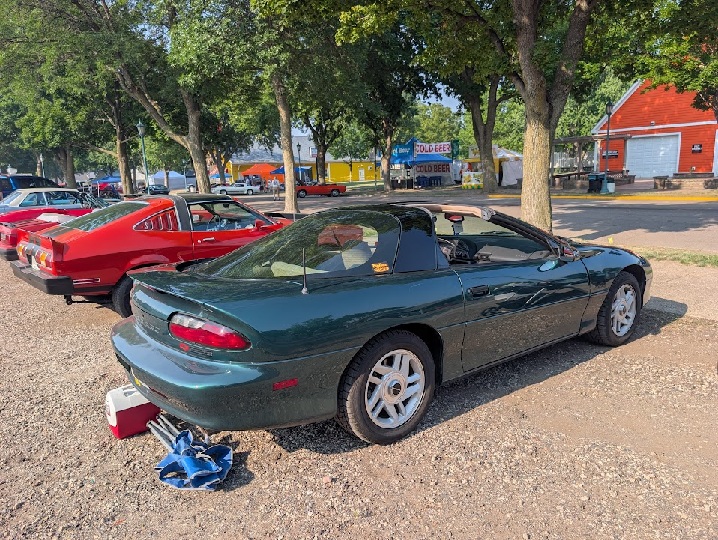
Been a busy month since I last checked in! Family went on a trip for a long time friend's wedding and I volunteered a week helping out at a community event. Nevertheless, car things still happened as they tend to do. The big excitement was a new-to-me car show that takes place exactly a month after back to the fifties called Street Machine Nationals. That managed to worm its way into the calendar this summer. Its a 3 day event at the MN State Fairgrounds, roughly about half the size of btt50s but very well organized and very cool! The event kicks off with a QA1 Lakeville facility cruise in, a site tour with coffee and doughnuts, and a cruise to the show on Friday morning. I had things to do that morning but I still made a point to get up bright and early bringing the 94 Camaro there. The facility itself was super cool, it was neat to see the behind the scenes of a local MN legend in the community: QA1 makes high end suspension replacement and improvement systems for a wide array of USDM cars and trucks. Ever the marketers dream, I think I know where my needed strut upgrade on the camaro is going to come from (coming soon to a site near you? Exhaust has also been ordered but is on backorder). Joining in on the entire group cruise out, and Qa1 had photos of everyone's cars taken. Honestly this event alone was worth the car show entry.
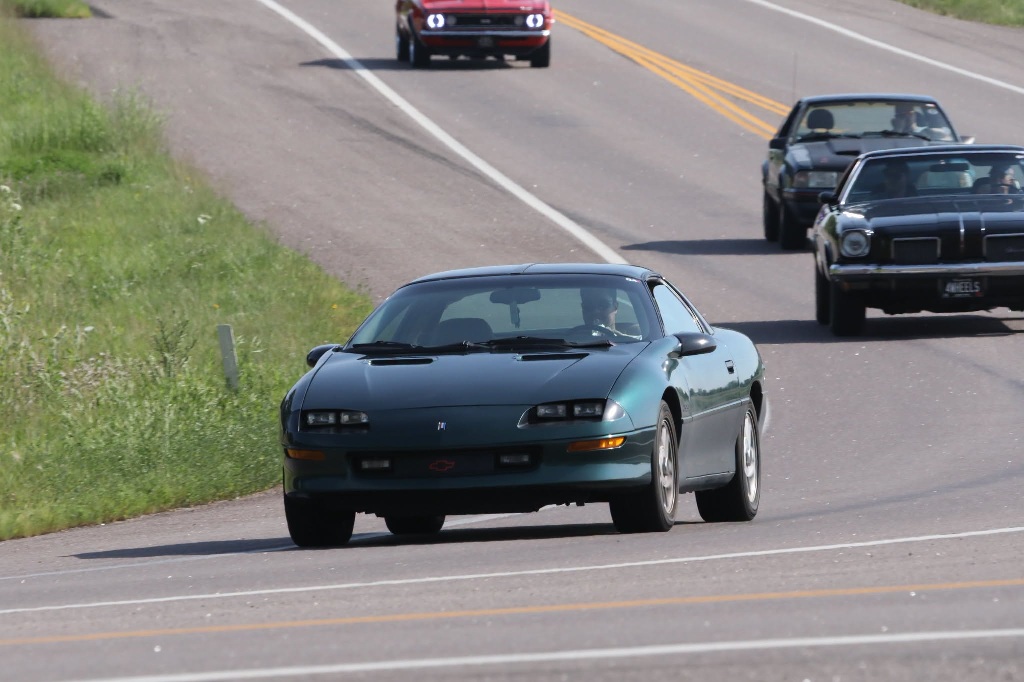
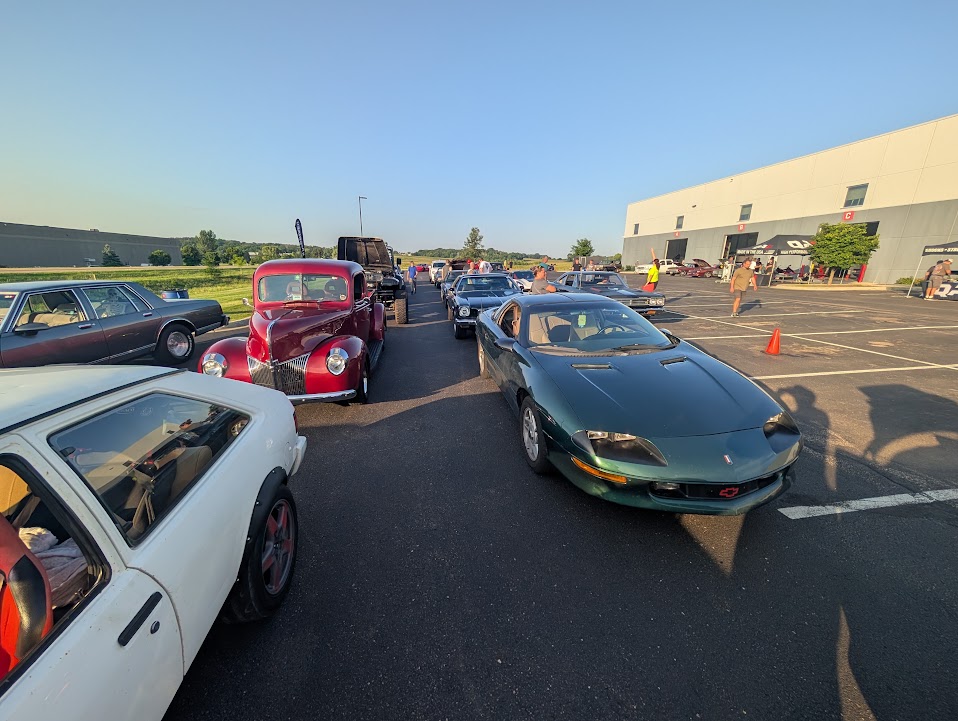
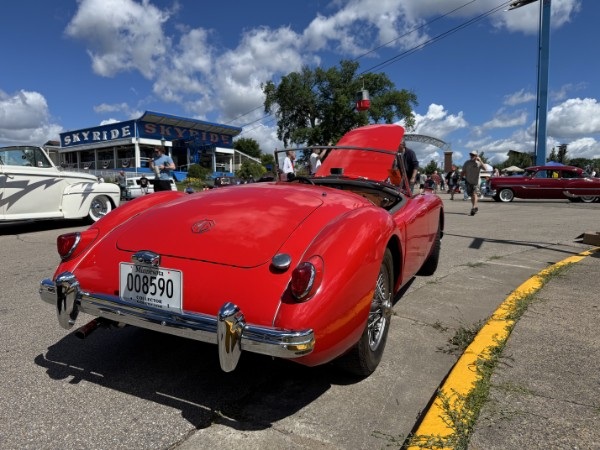
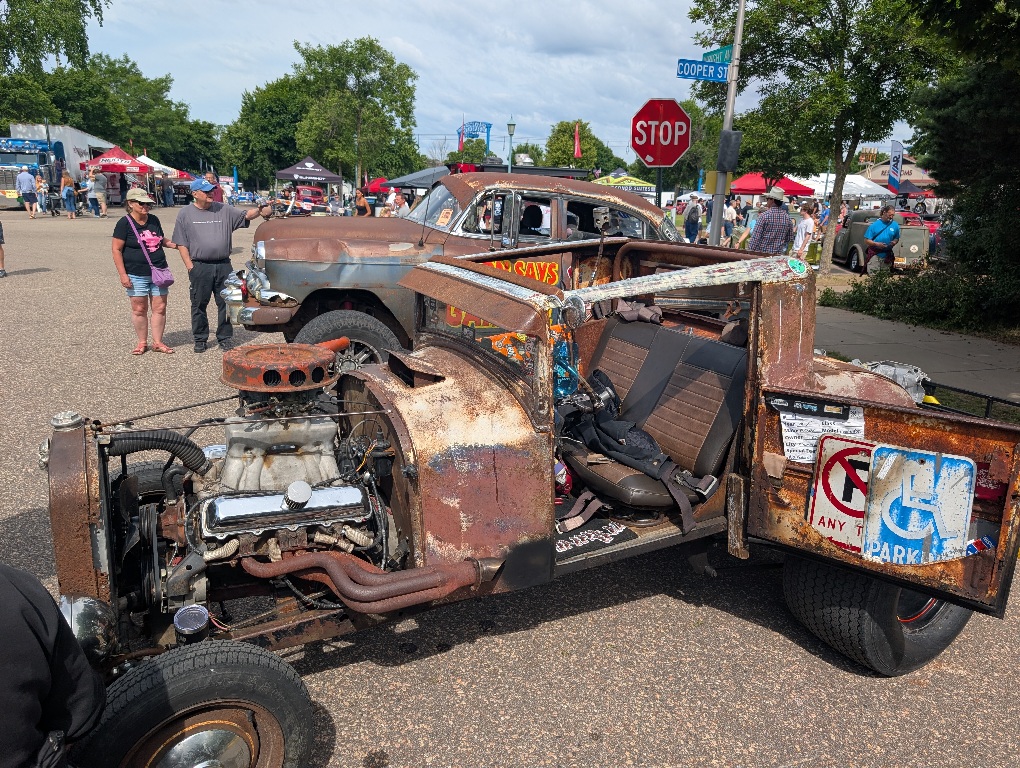
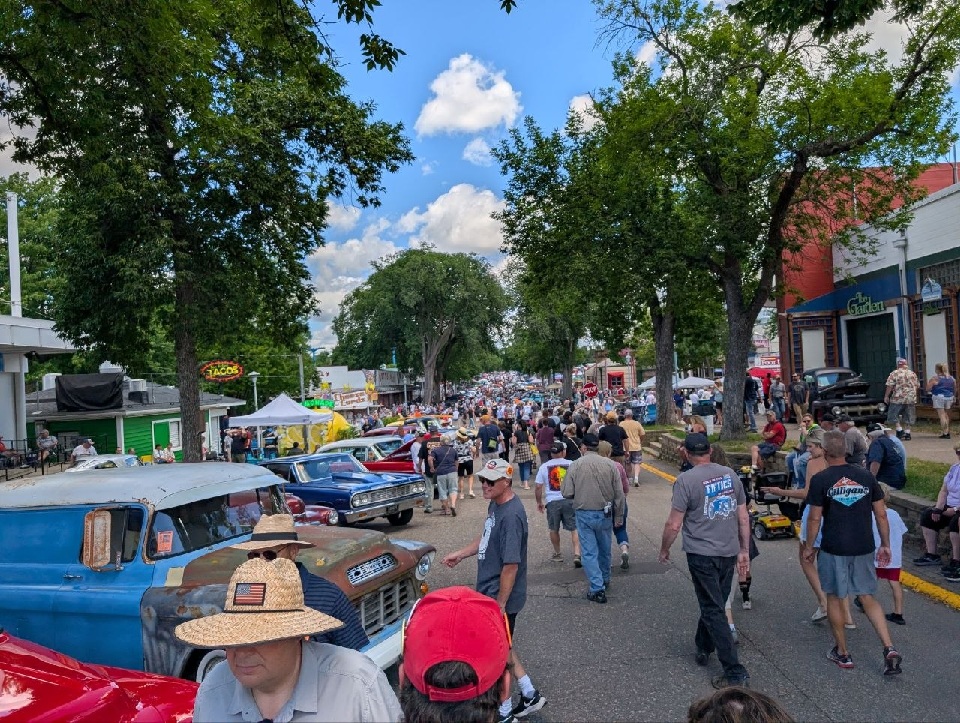
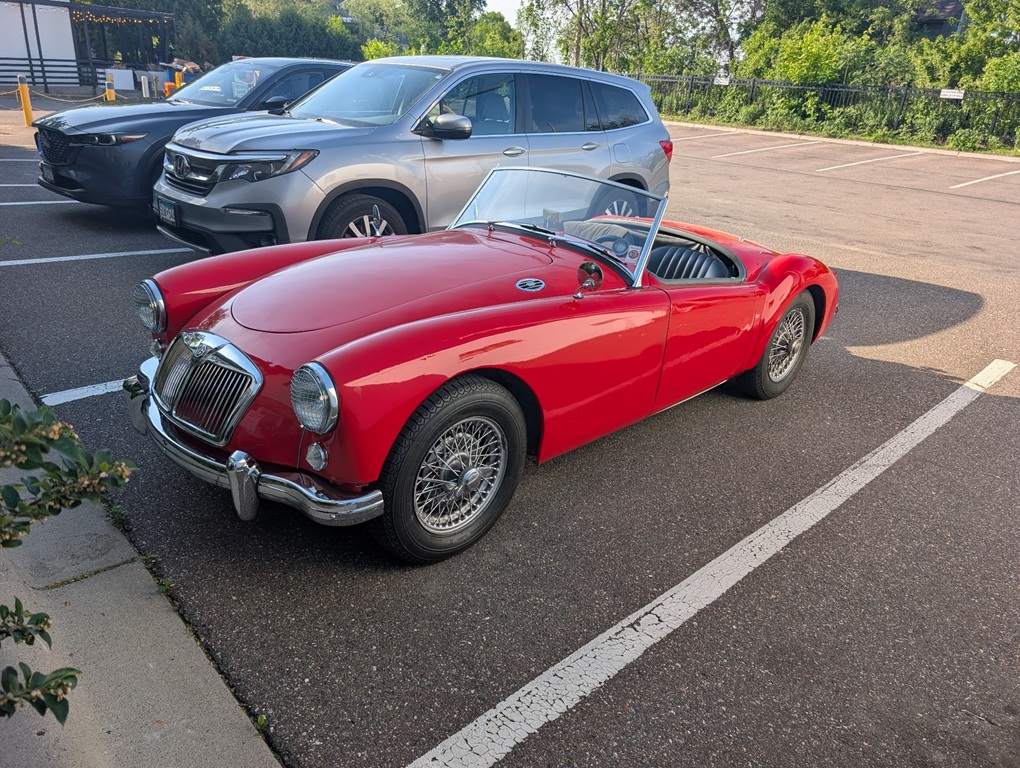
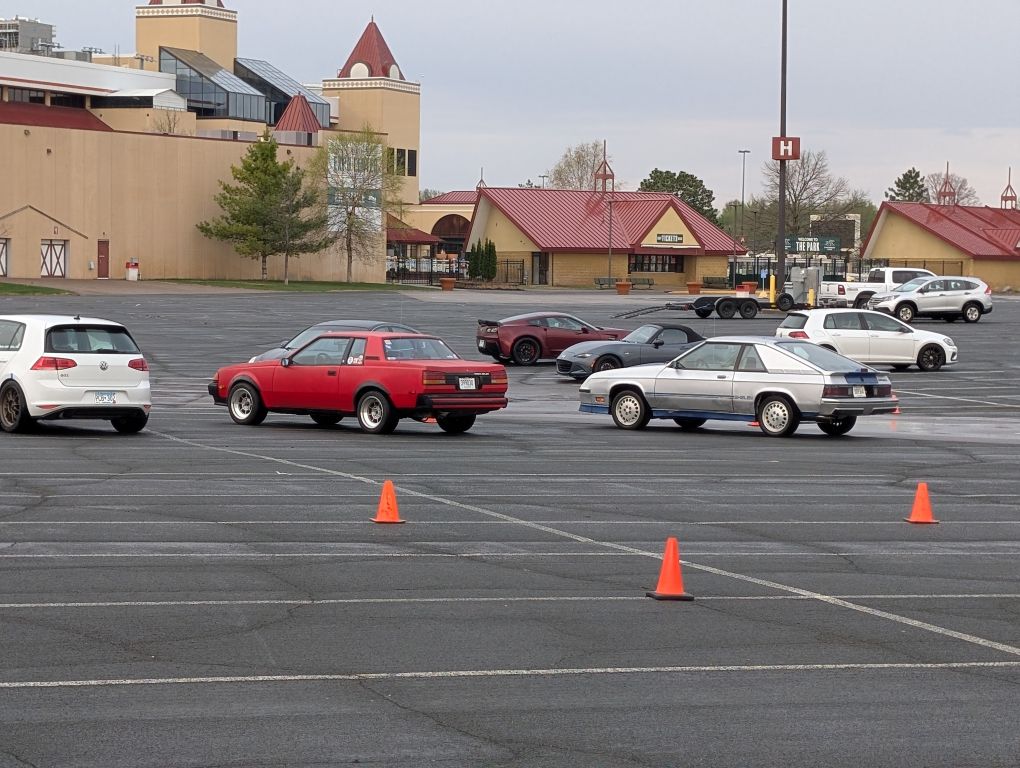
On saturday, went to pick up the camaro's entry pass and we were ready to go for Sunday morning. I parked next to some mustangs and a corvette right on the corner by the entrance so my kid and I could watch the parade of cars coming in go by! While I just said the QA1 event might have been nearly worth it, I would be remiss in telling you that it was all the weekend had to offer. Street Machine Nationals has some of the craziest car projects I've seen in the state, all together in one place. Low Rider Isuzu Hombre to crazy HotWheels lookalike machines with giant chrome intakes jutting from the hoods, everything was here. Beyond just the cars to see, (over 5000!), there is an Autocross event, a burnout comp, and a Dyno challenge. The kid REALLY liked the dyno challenge and was disappointed I didn't want to find out how measly the 94's stock HP has become over the years. Nonetheless, it was a super fun morning and I definitely will be back next year to make a proper full day run at the event.
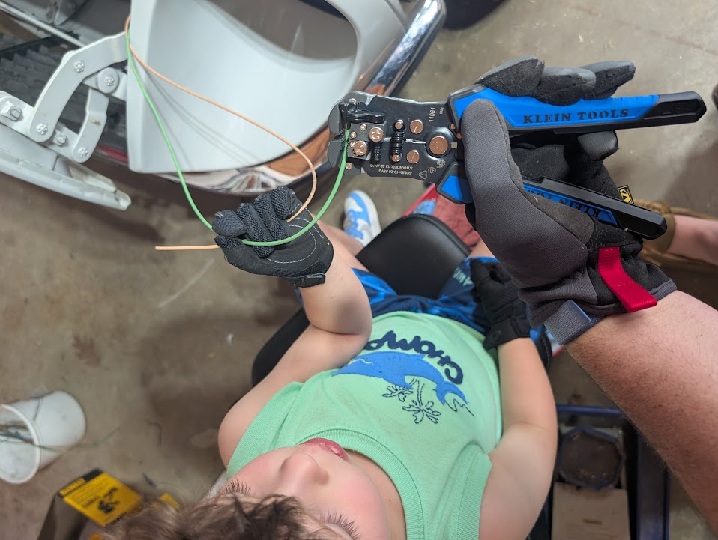
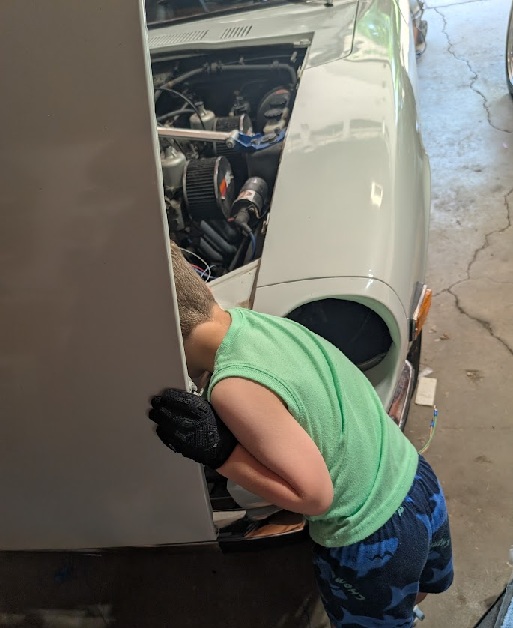
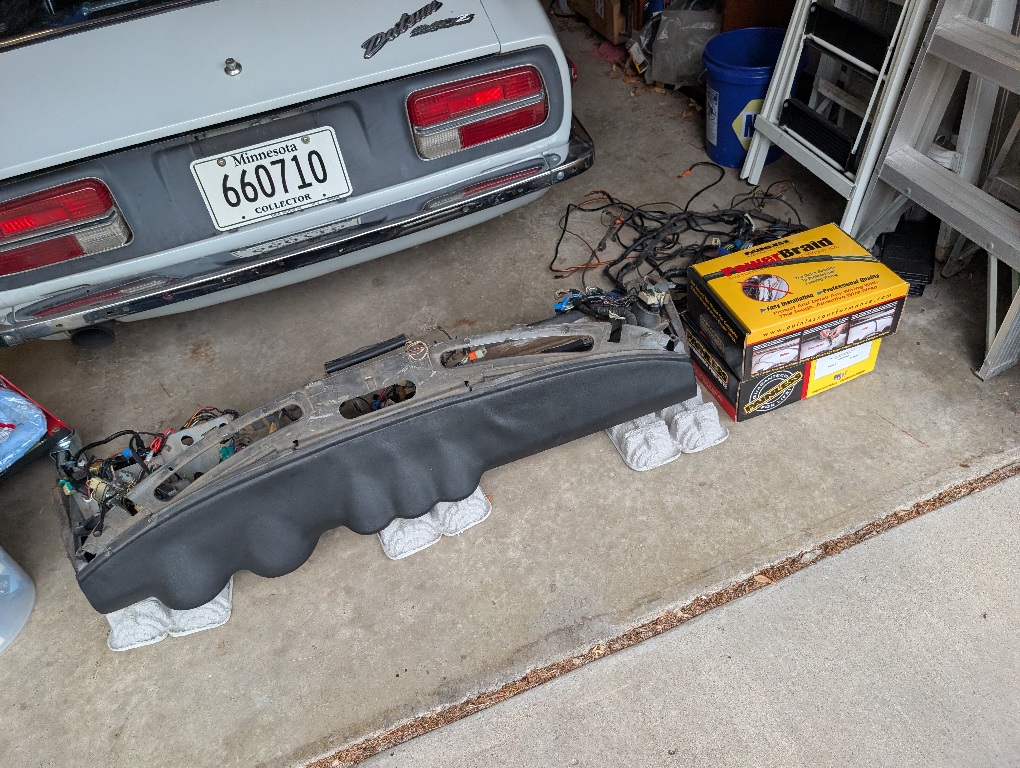
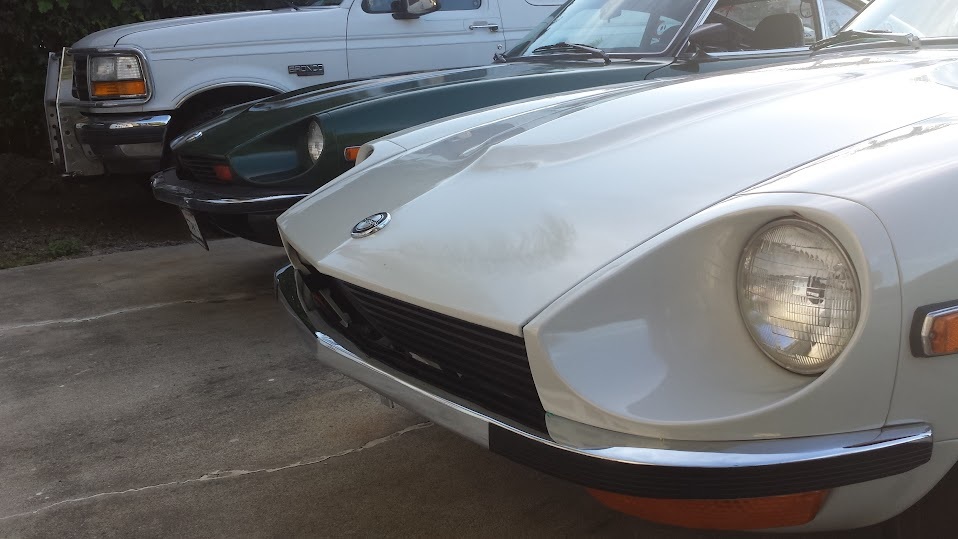
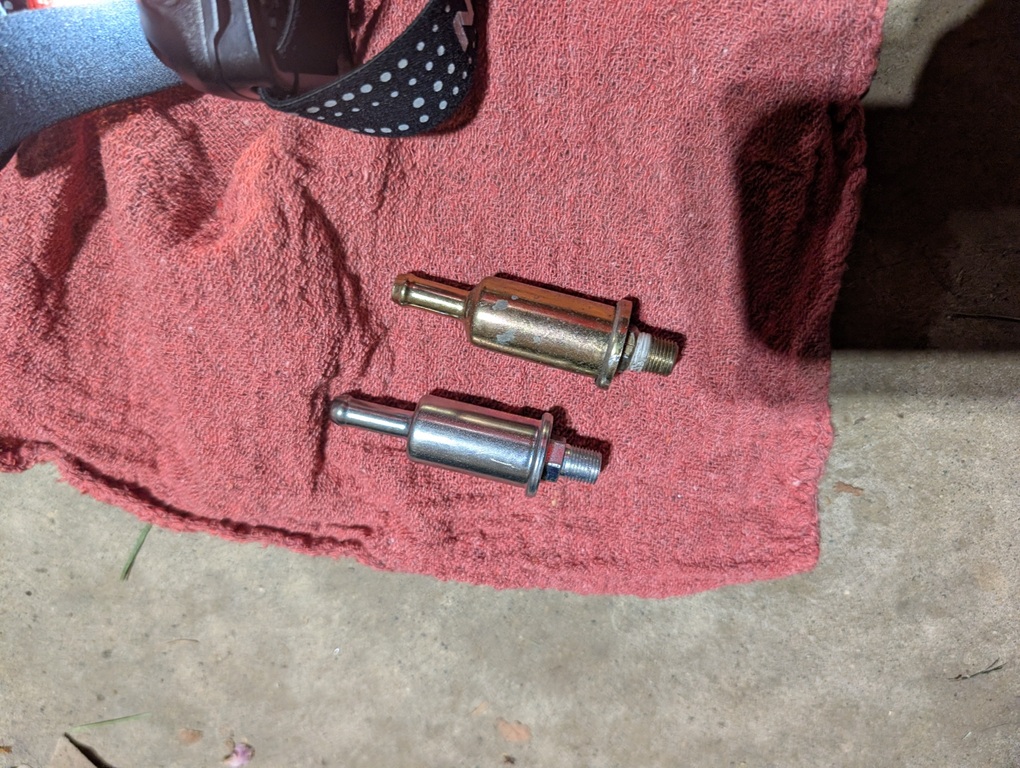
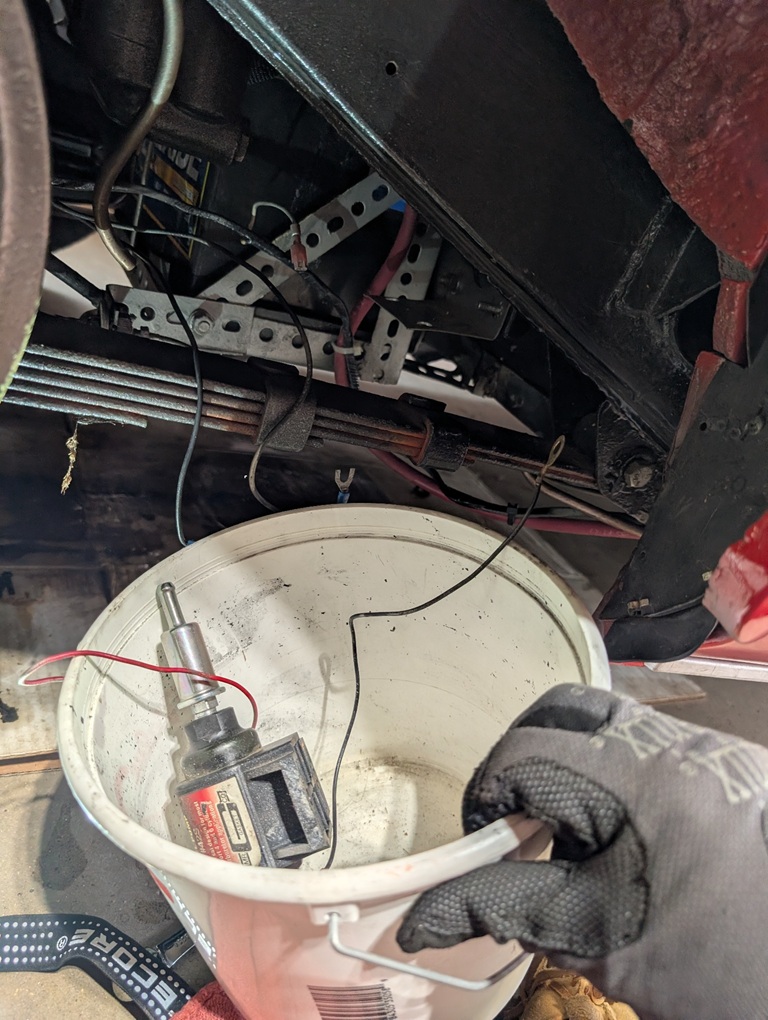
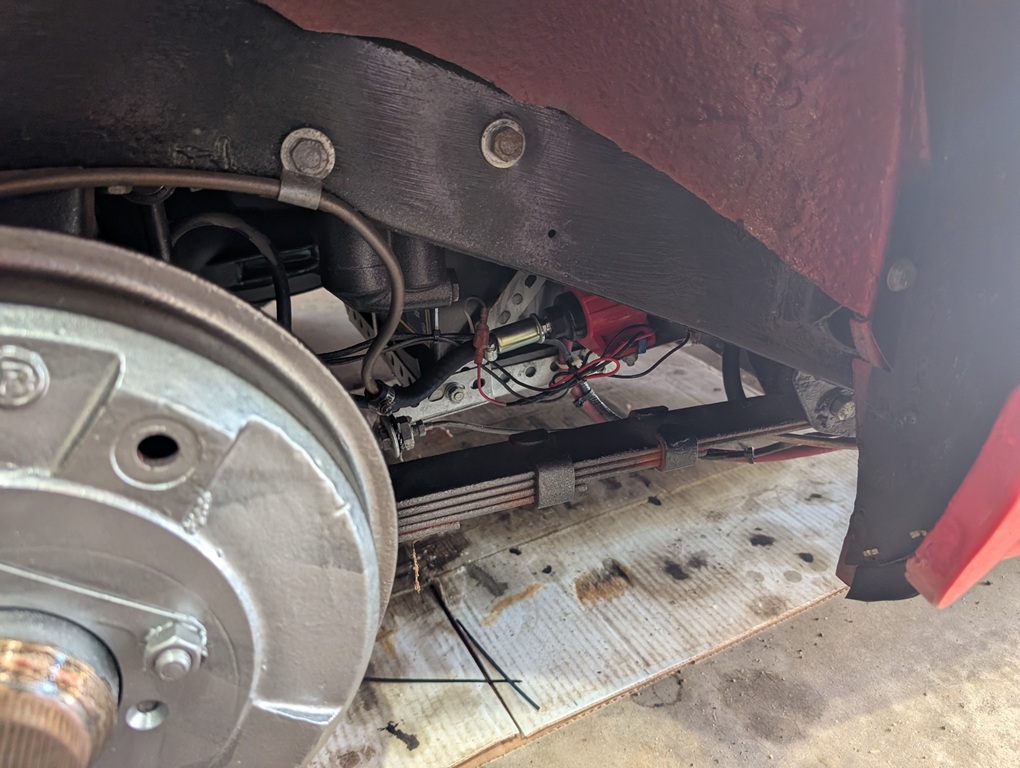
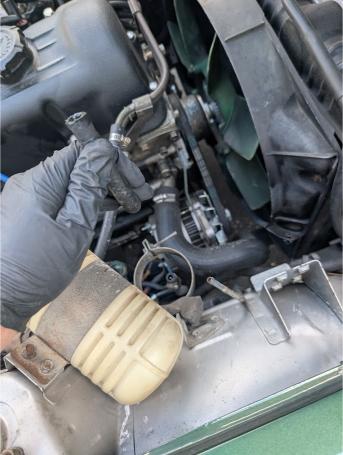
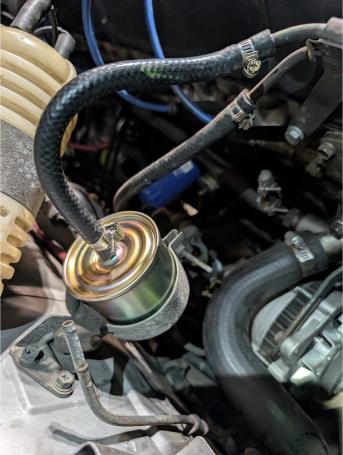
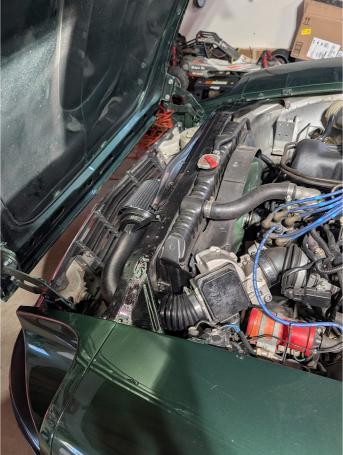
Finally, a bit of news on the datsun front. We have the front headlights, corners and turns prepped for install (still can't find the driver's headlight bucket hardware) as well as their grounds laid out. A grounding plan is made and I am quickly understanding the depth of the problems the stock wiring was encountering. The remanants of the last wiring job on this car bedlined the engine bay THEN installed the grounds. Half made zero continuity at all. Small wonder the thing wanted to burn itself down headlights first. Next is tail lights, where the grounding shouldn't be so bad. I have high hopes of a fall return to drivablility, even if thats just a bucket on the floor and no dashboard! The kid and I were hard at work and that mostly meant I got about 1/4th the amount done in the three hours we spent as planned but at least the labor was free.